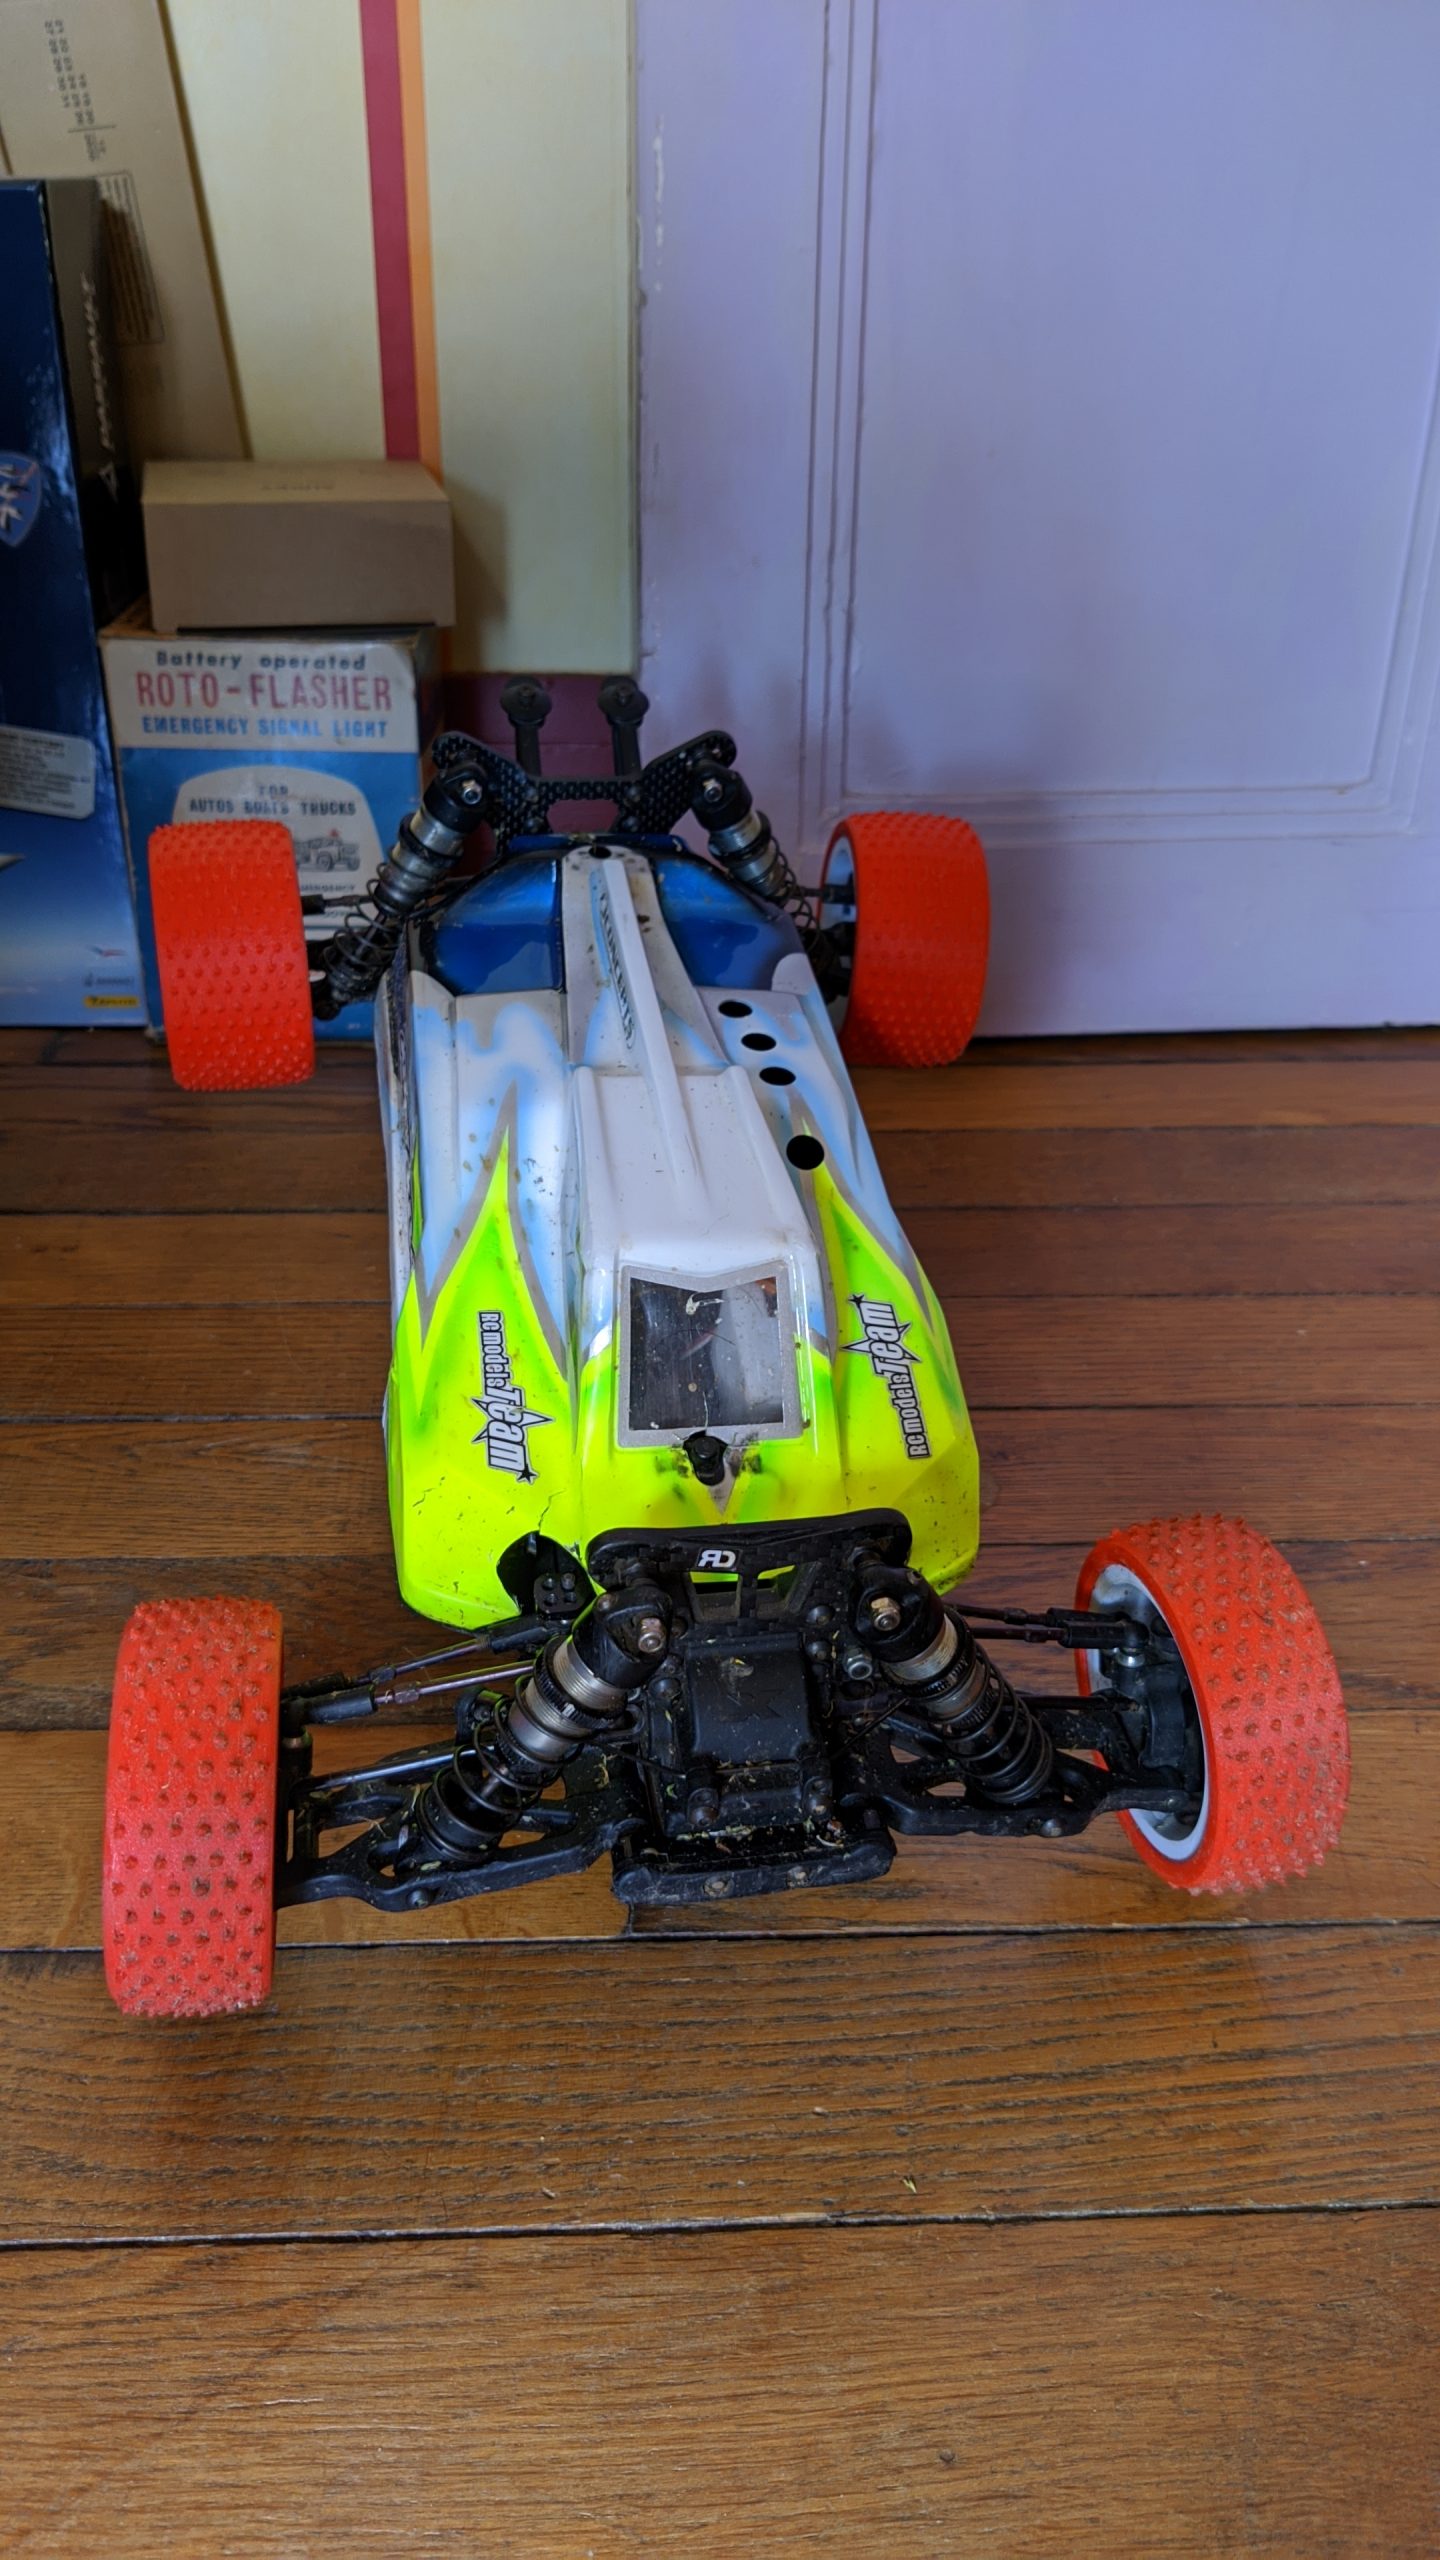
In May 2021, I made a copy of the rim of my radio-controlled car. I thought it would be a good project to model and print an entire wheel.
As before every project, I analyze and try to understand how to model the part correctly, while keeping in mind the constraints of 3D printing.
I couldn’t keep the original model because it required supports for the tire, and I can’t use them for flexible filament. I also needed a design that could hold the tire in a centered position.
I also had to take into account the flexibility of the filament according to the thickness and filling of the tire, as I couldn’t fit foam like in the original wheel.
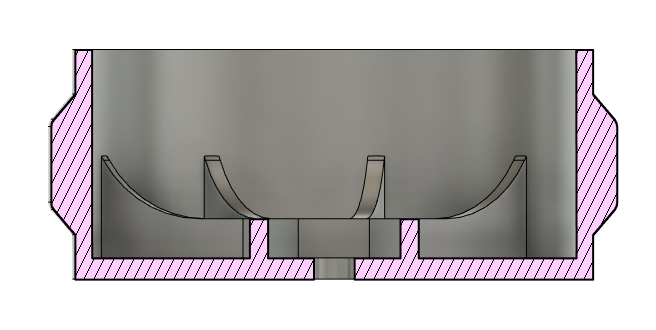
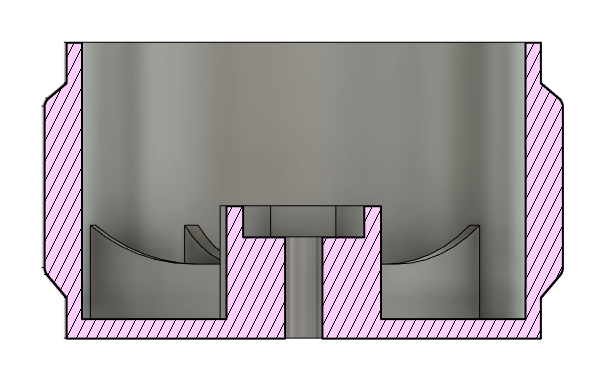
My first idea was to make a small curve that would be embraced by the tire. I then had to adapt the tire’s thickness and filling to achieve the same effect as with foam.
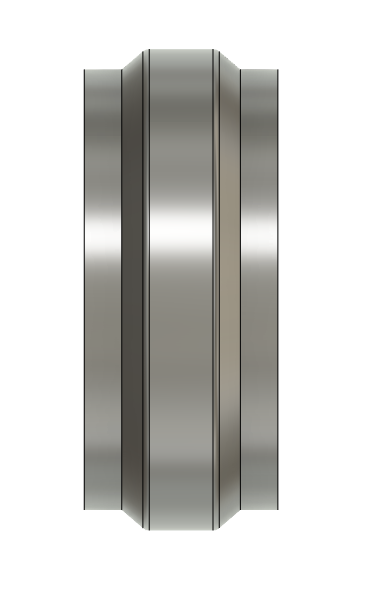
First front wheel model (V1)
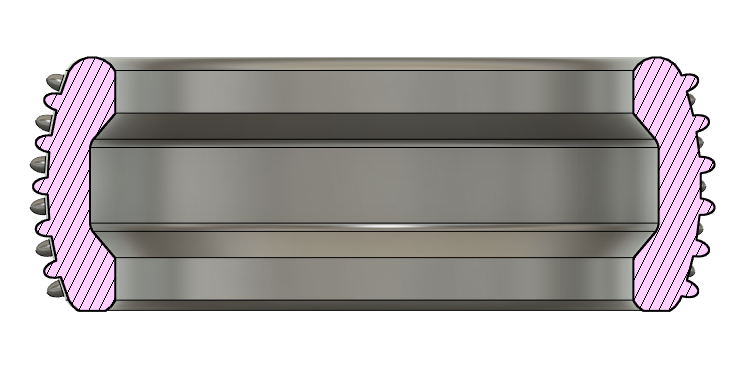
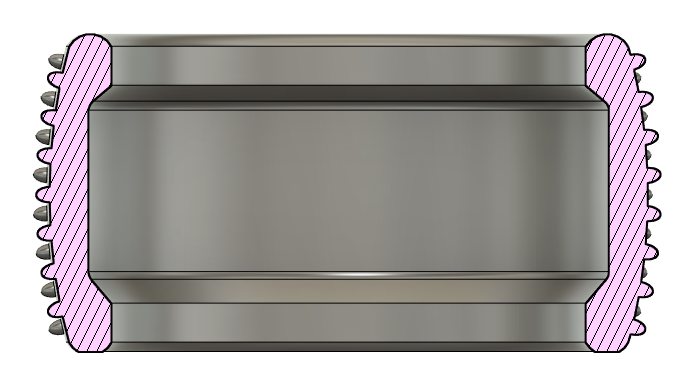
Once the rim and tire have been printed, it’s time for the test.
The result of the first test was that the tire was too hard in the center of the wheel but soft enough on the outside of the rim.
Search for a new solution
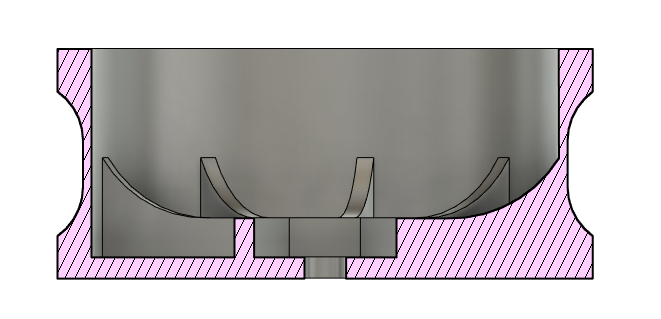
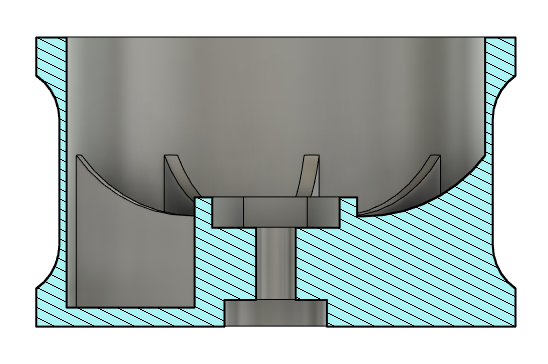
Since the first model didn’t work, I thought why not do the opposite. In other words, instead of making a lump on the rim, make a hollow in which the tire can be held.

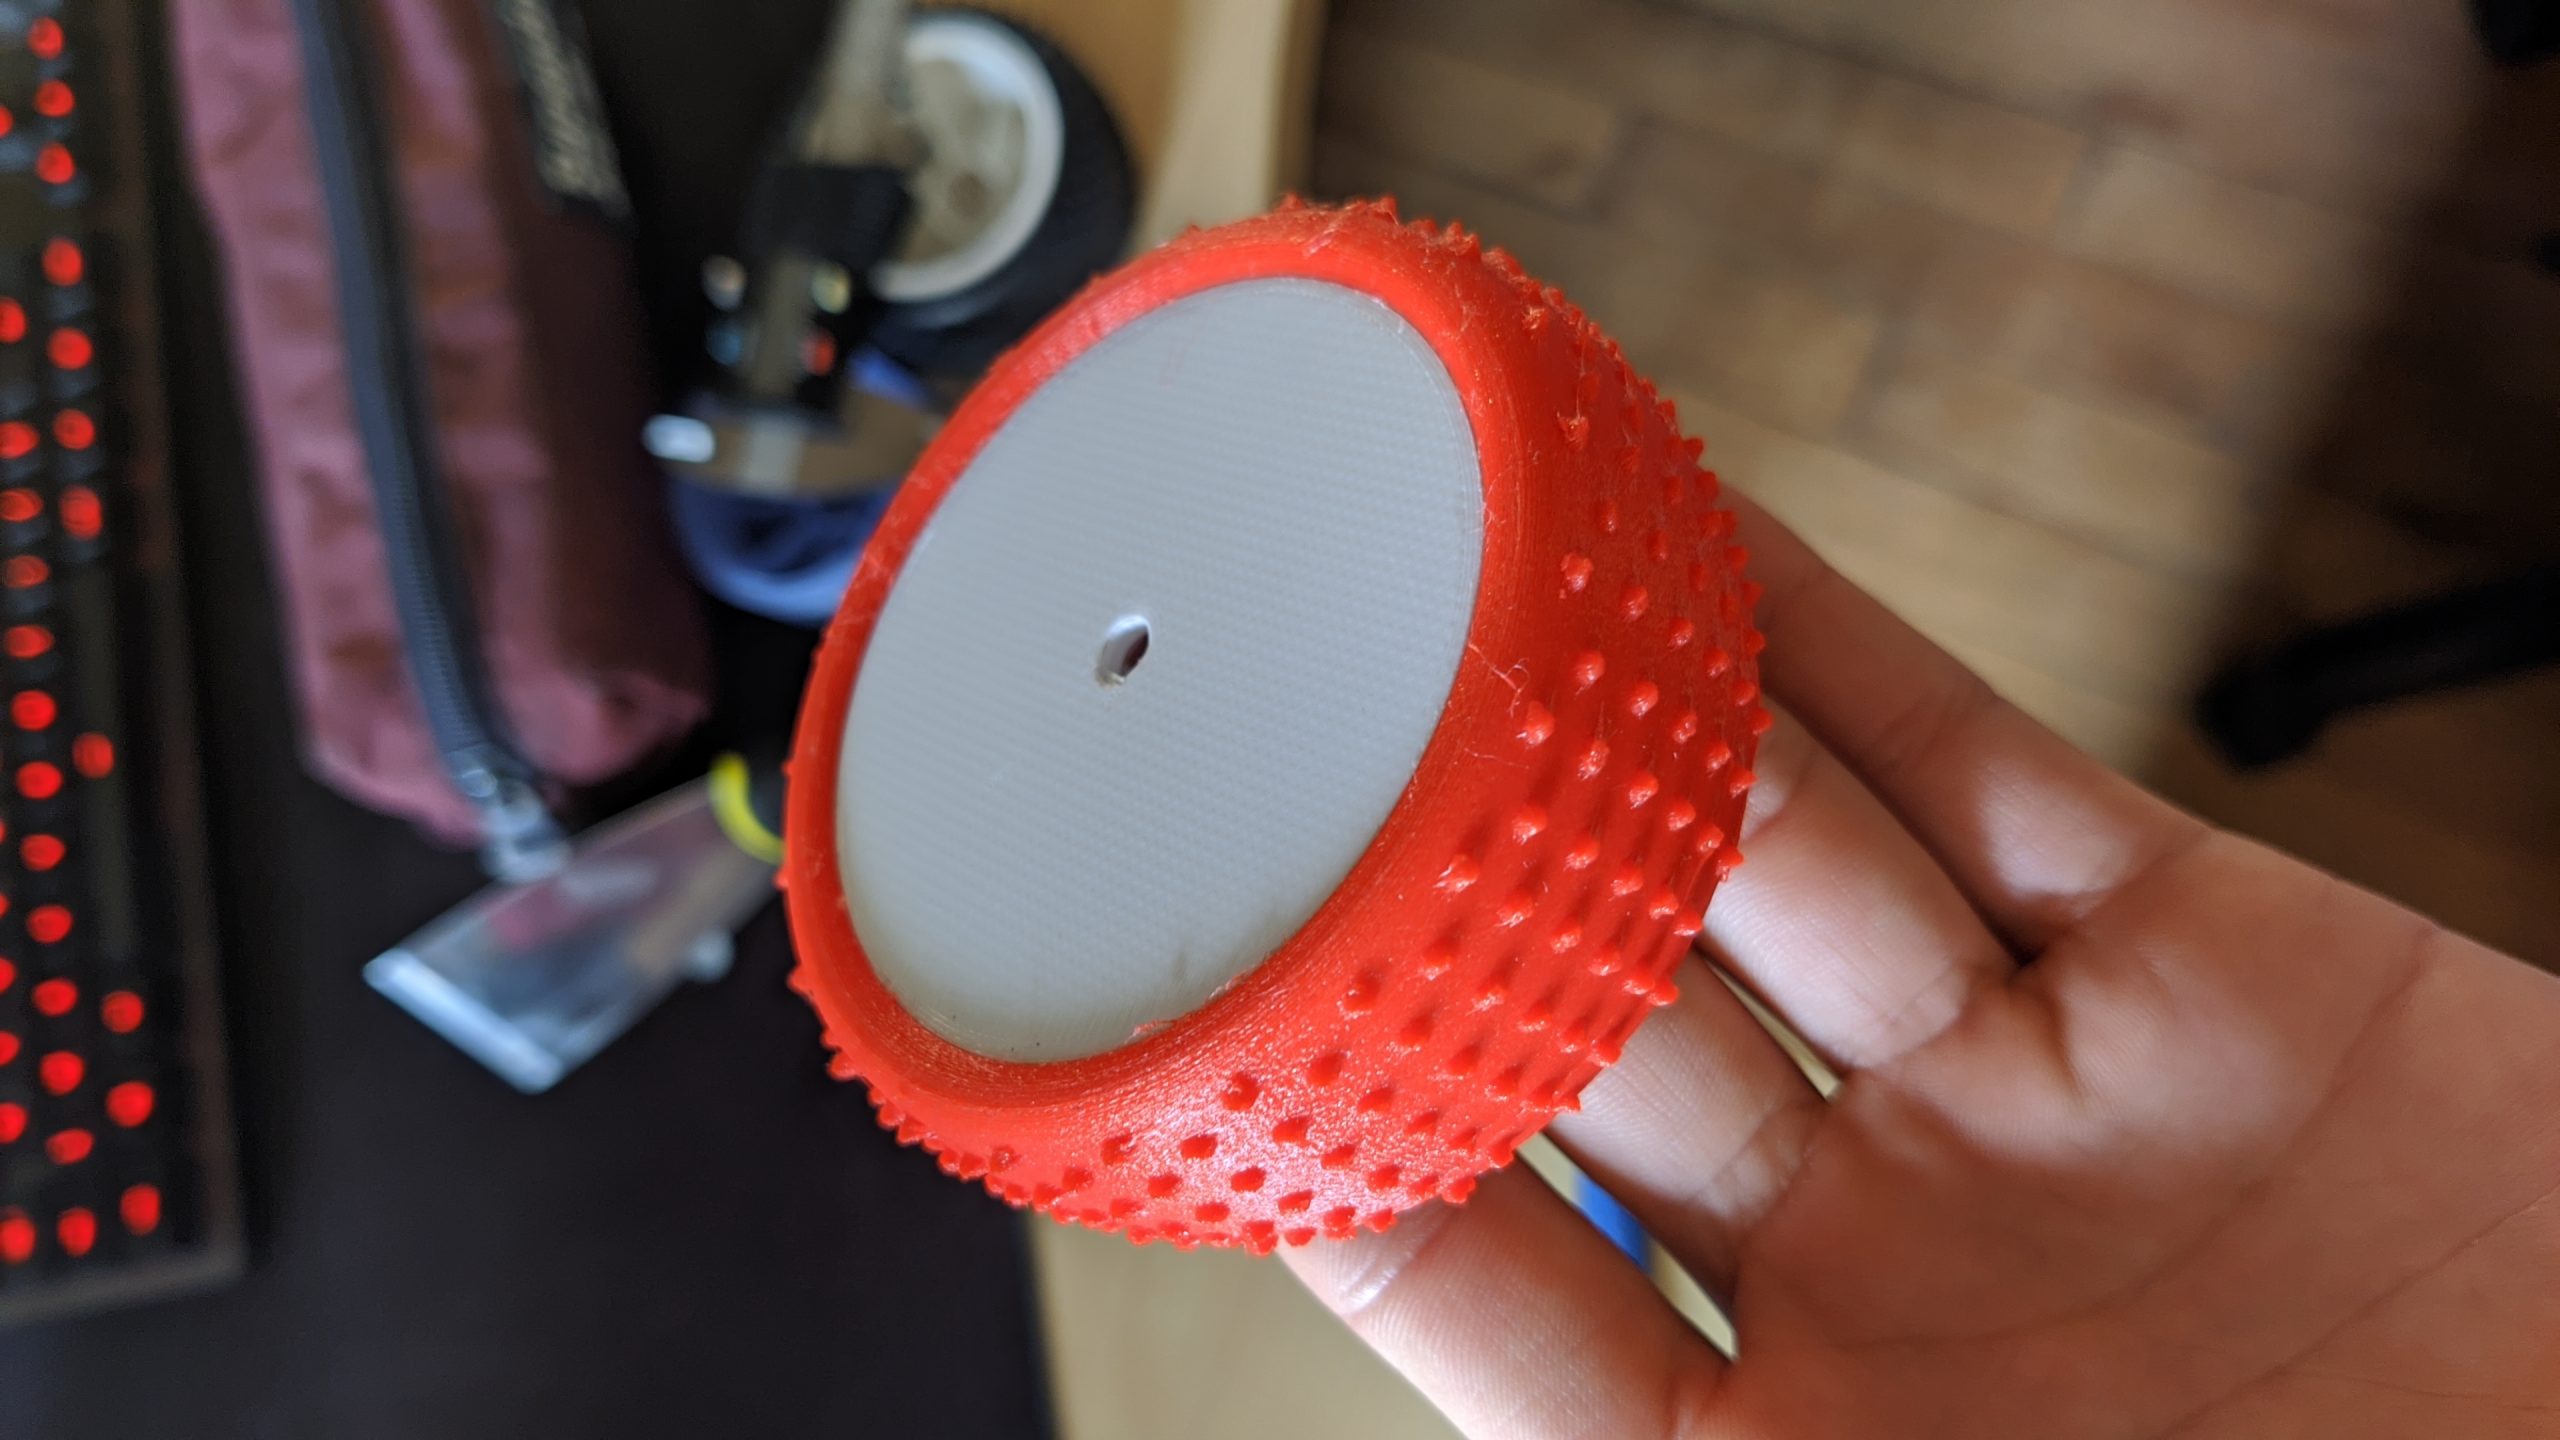
Second front wheel model (V2)
This was the best alternative I found. You just have to adjust the slicer settings to get the desired flexibility.
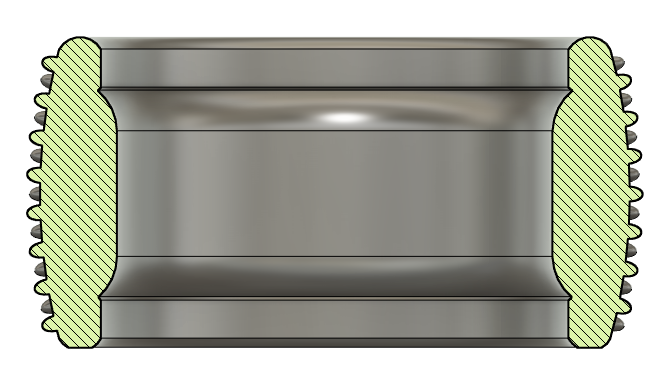
So I end up with two different versions. But both aren’t perfect, and I’m having trouble finding a good filling for the tire. I then tried to merge the two versions, taking the V2 for the rim (version with the hollow) and the V1 for the tire (version with the hollow for the tire).
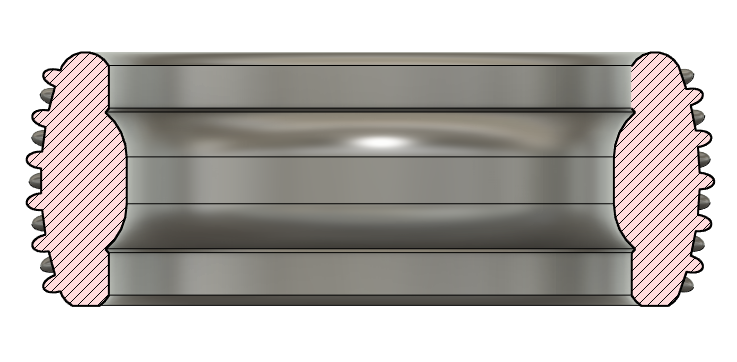
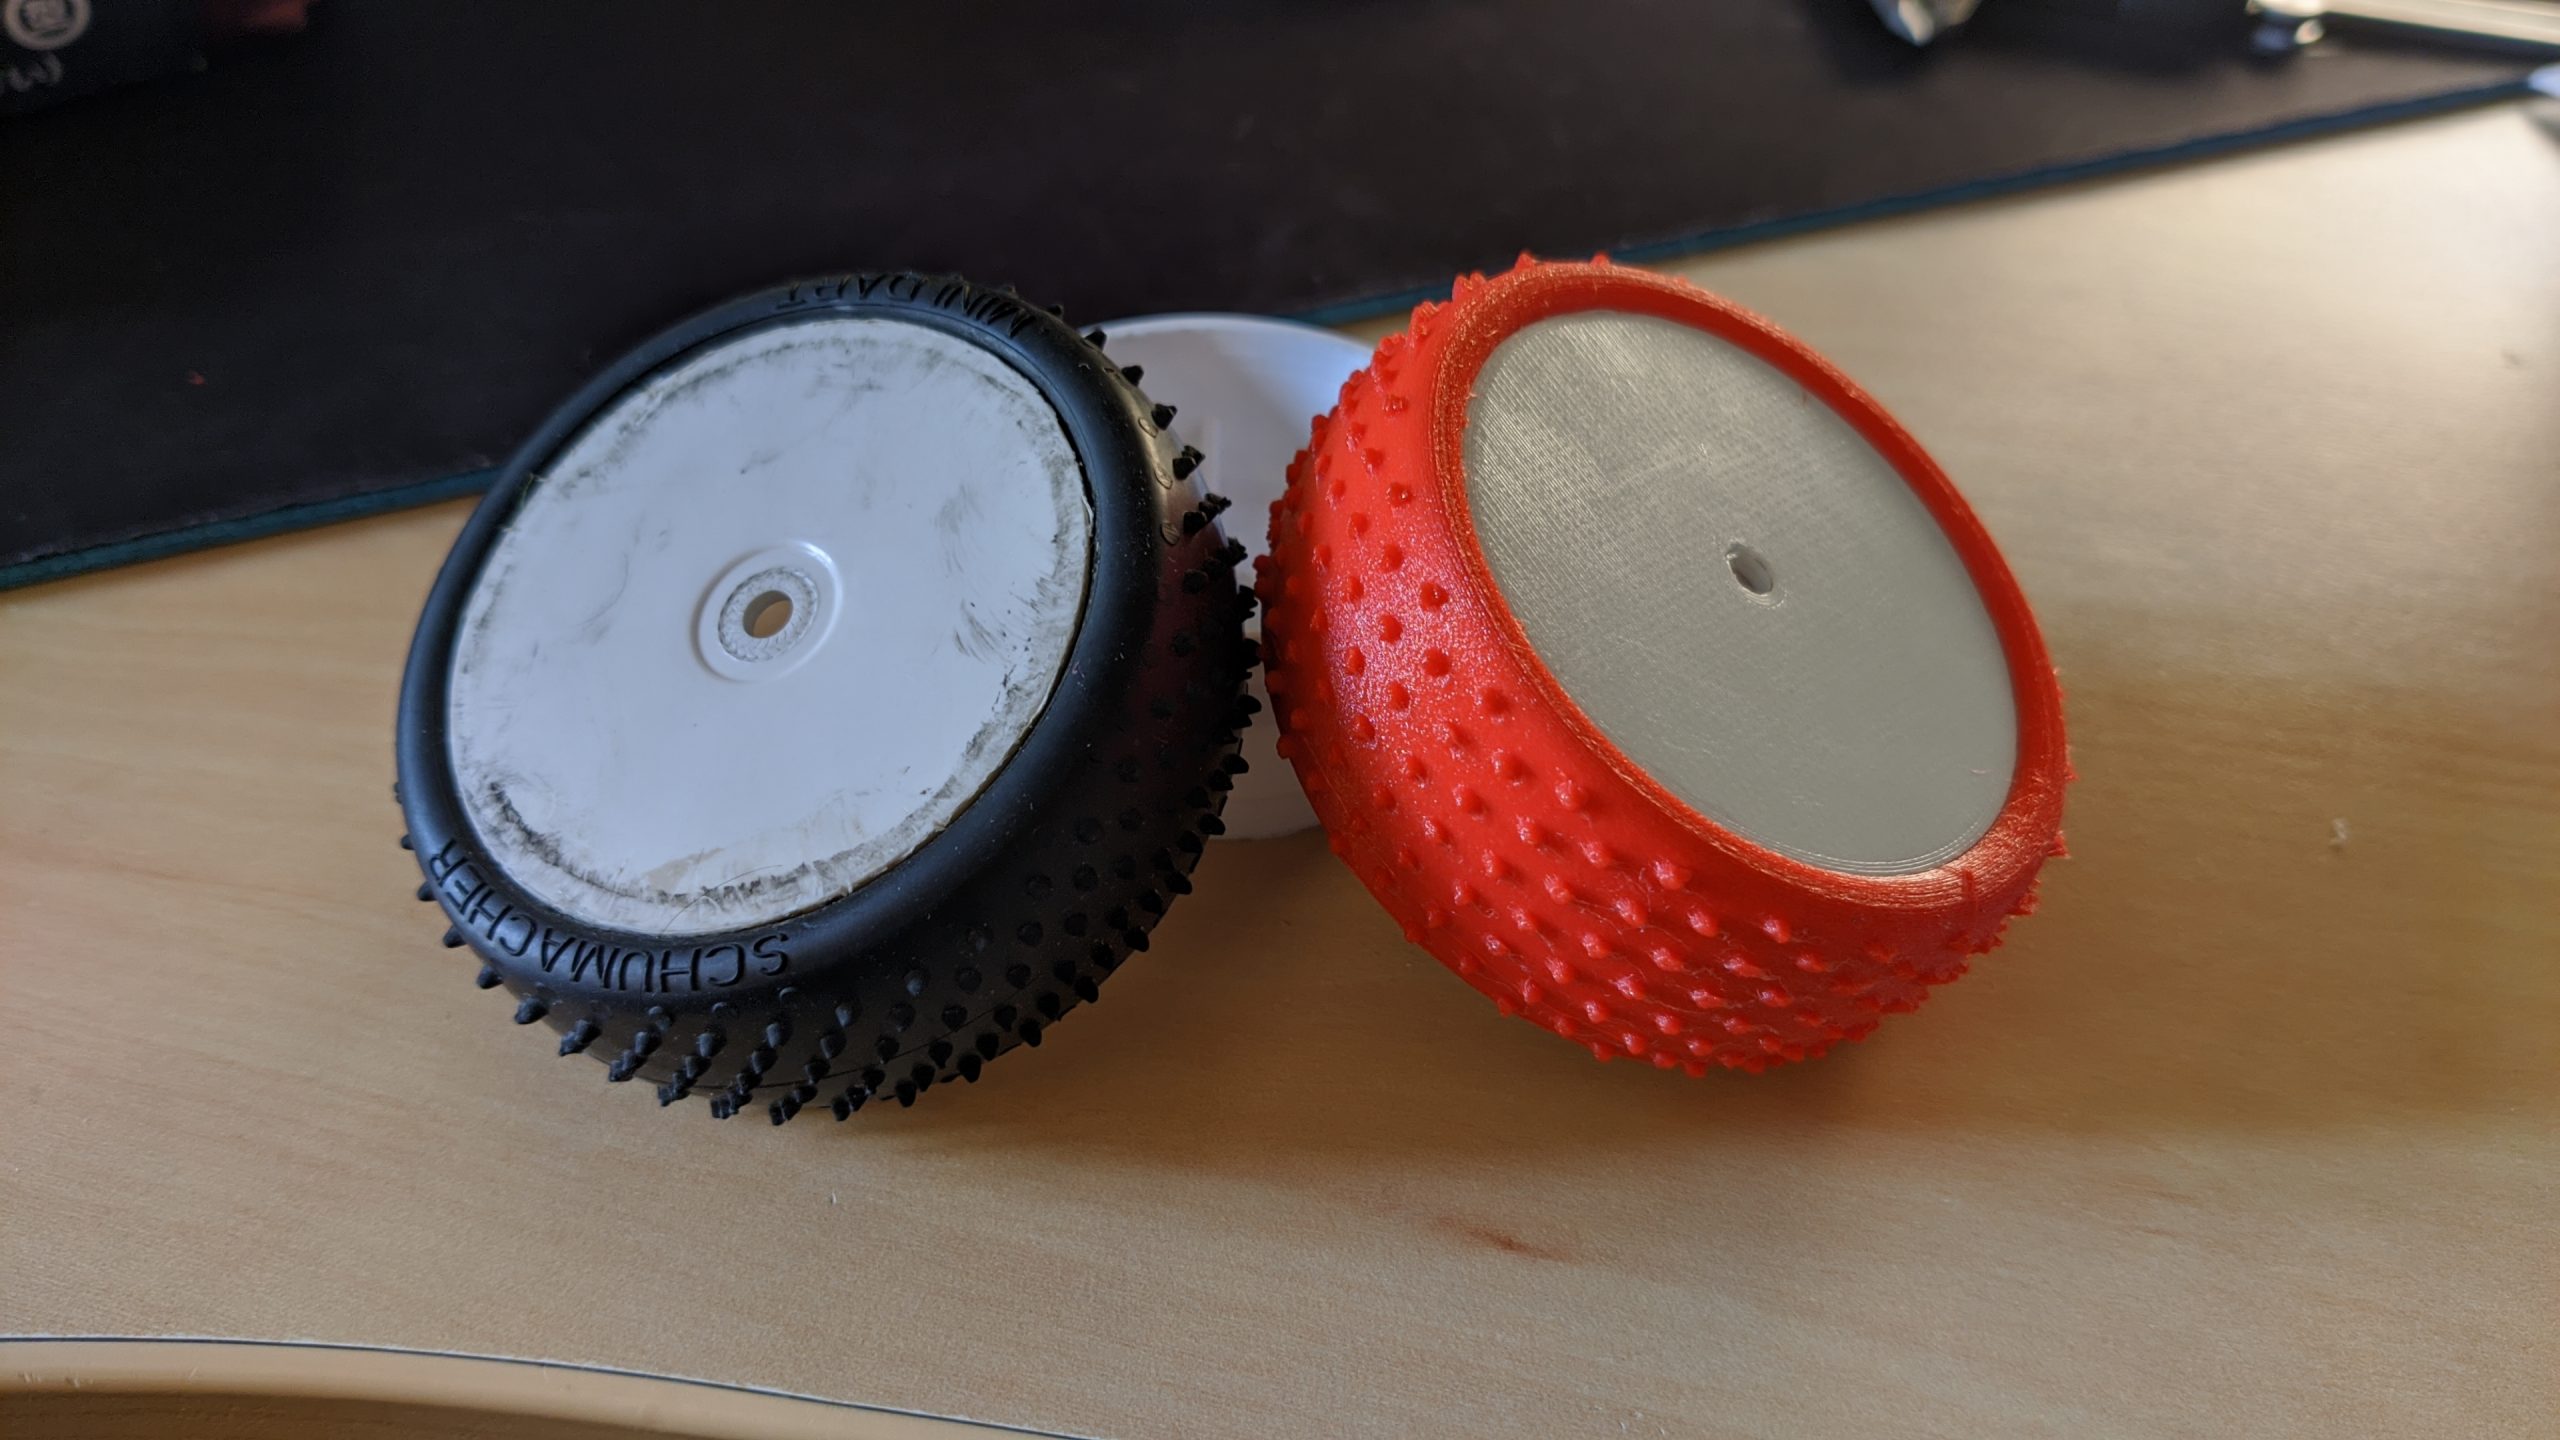
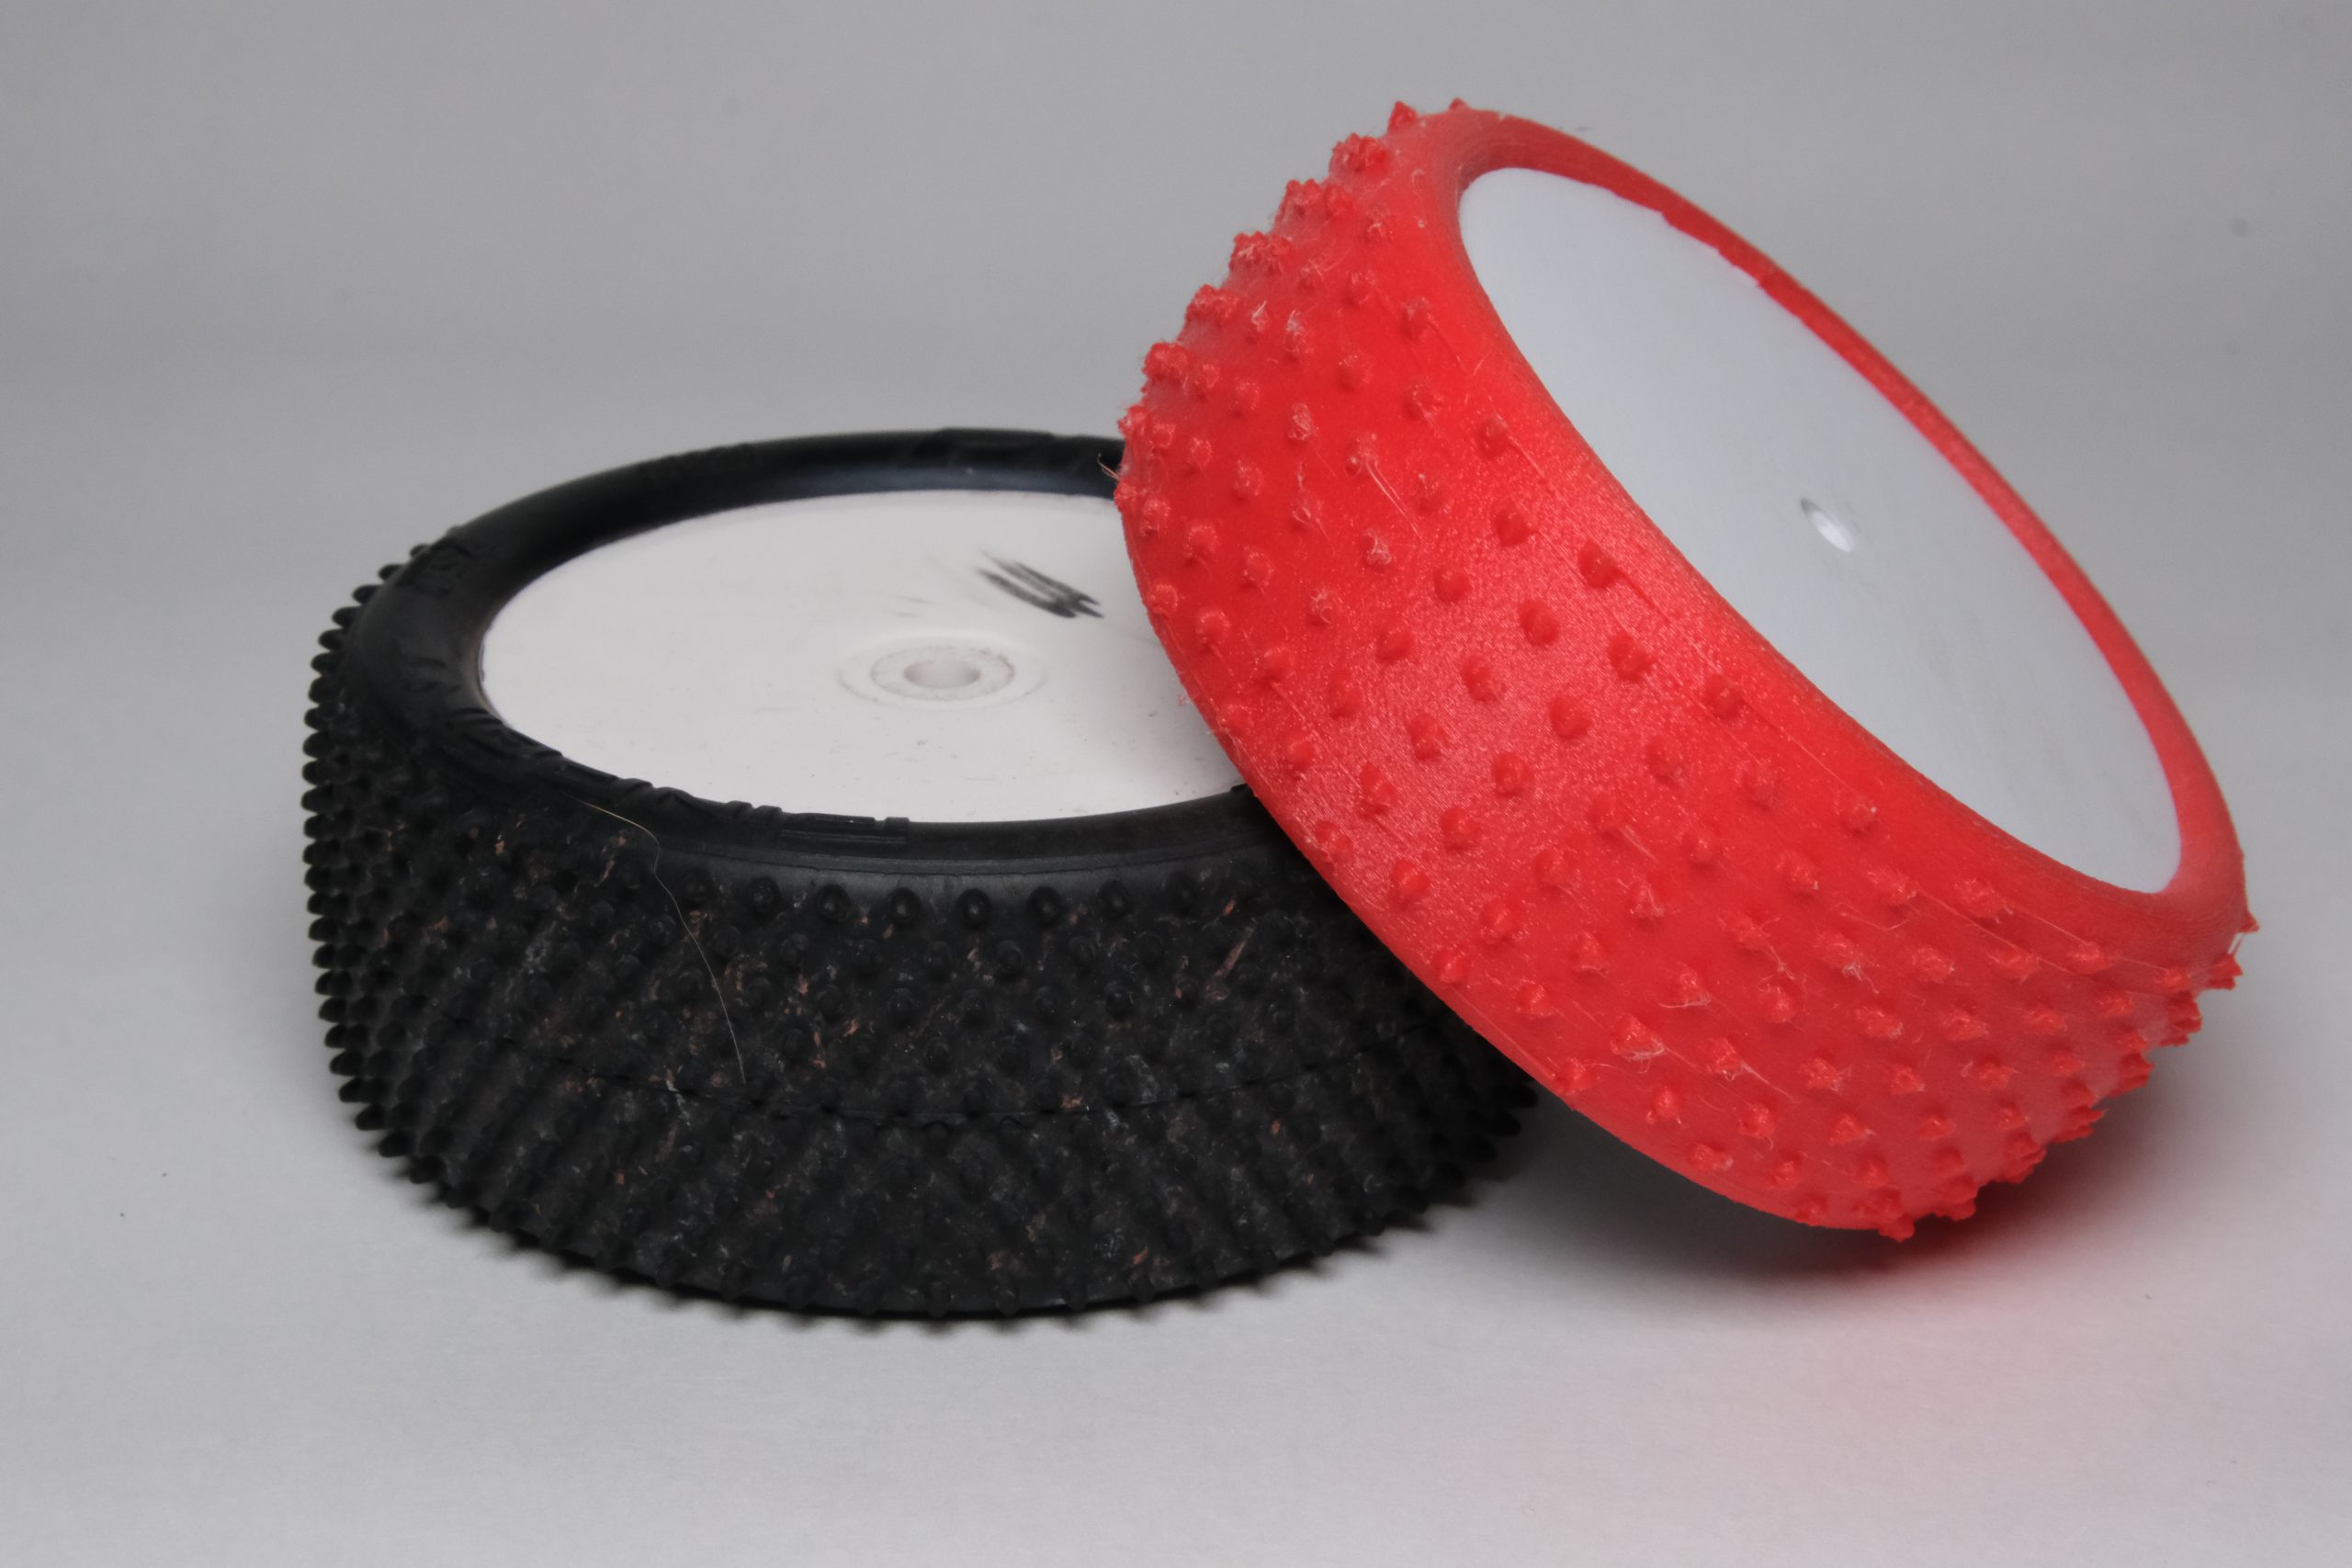
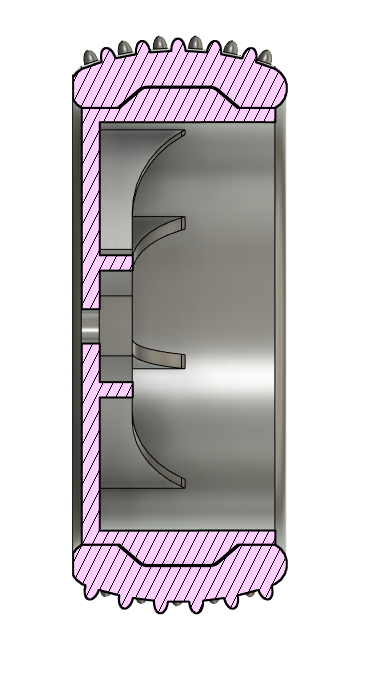
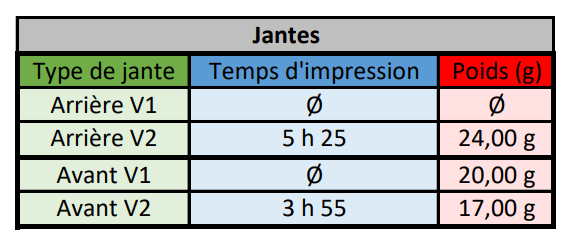
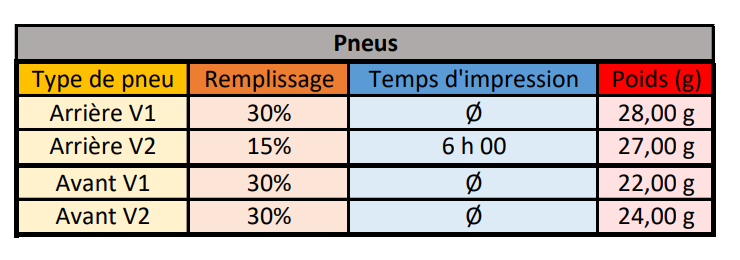
Comparison of two front wheel versions
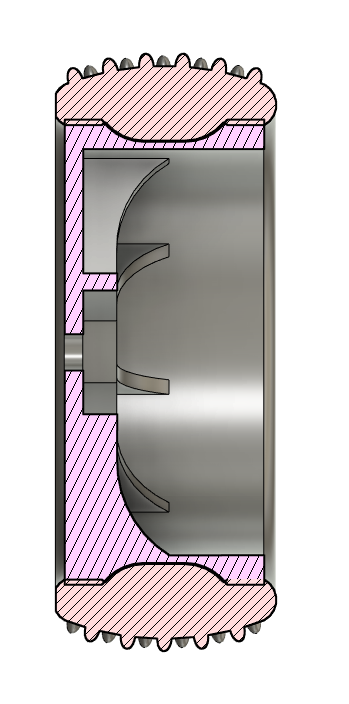
Comparison of two rear wheel versions
The result was exactly what we were looking for for the front wheel, which doesn’t have a large surface in contact with the road and therefore requires a different level of flexibility to the rear wheel. As the contact patch is different at the front and rear, with the same print settings, the result at the rear was different (slightly softer tire). To be clearer, as the front wheel is less wide, this makes the flexible filament stiffer than a rear wheel which is wider and allows more flexibility for the tire.
So for the front wheel, I have a hollow rim and a “hollow” tire. And for the rear wheel, a hollow rim with either a bulged tire with 15% fill, or a bulged tire with 30% fill.
How much does all this cost me?
For the front wheel, there’s 17g for the rim and 22g for the tire. And for the rear wheel, 24g for the rim and 27g for the tire.
That makes a total of 180g for two wheels, front and rear.
As for the price, to make the 4 rims (2 front and 2 rear) you’ll need 1.99€ of filament, for 18h40 of printing. And for the 4 tires, it’s about 7.83€. This gives me a total cost of 9.82€, compared with around 40€ in the shops.
Is it always this effective?
For the moment, I’ve only been able to test them on wet terrain, which isn’t suited to the design of these tires, which only have small studs adjusted for dry terrain.
I’m planning to test them this summer on a suitable track, but despite this terrain I did ride them and they worked pretty well.
This project was very comprehensive in terms of learning how to design and print flexible tires within their constraints.
A possible improvement
To be sure of having a well-maintained tire that won’t move over time, I could add small bumps to the rim, which would hold the tire correctly and prevent it from spinning around the rim.